Inputs and outputs: button
Turn a led on when pressing a button
What are we going to do?
In this activity you'll write some code that turn a led on o off when a button is pressed.
You can find this code under Arduino IDE -> File -> Examples -> Digital -> Button
Materials
UNO board
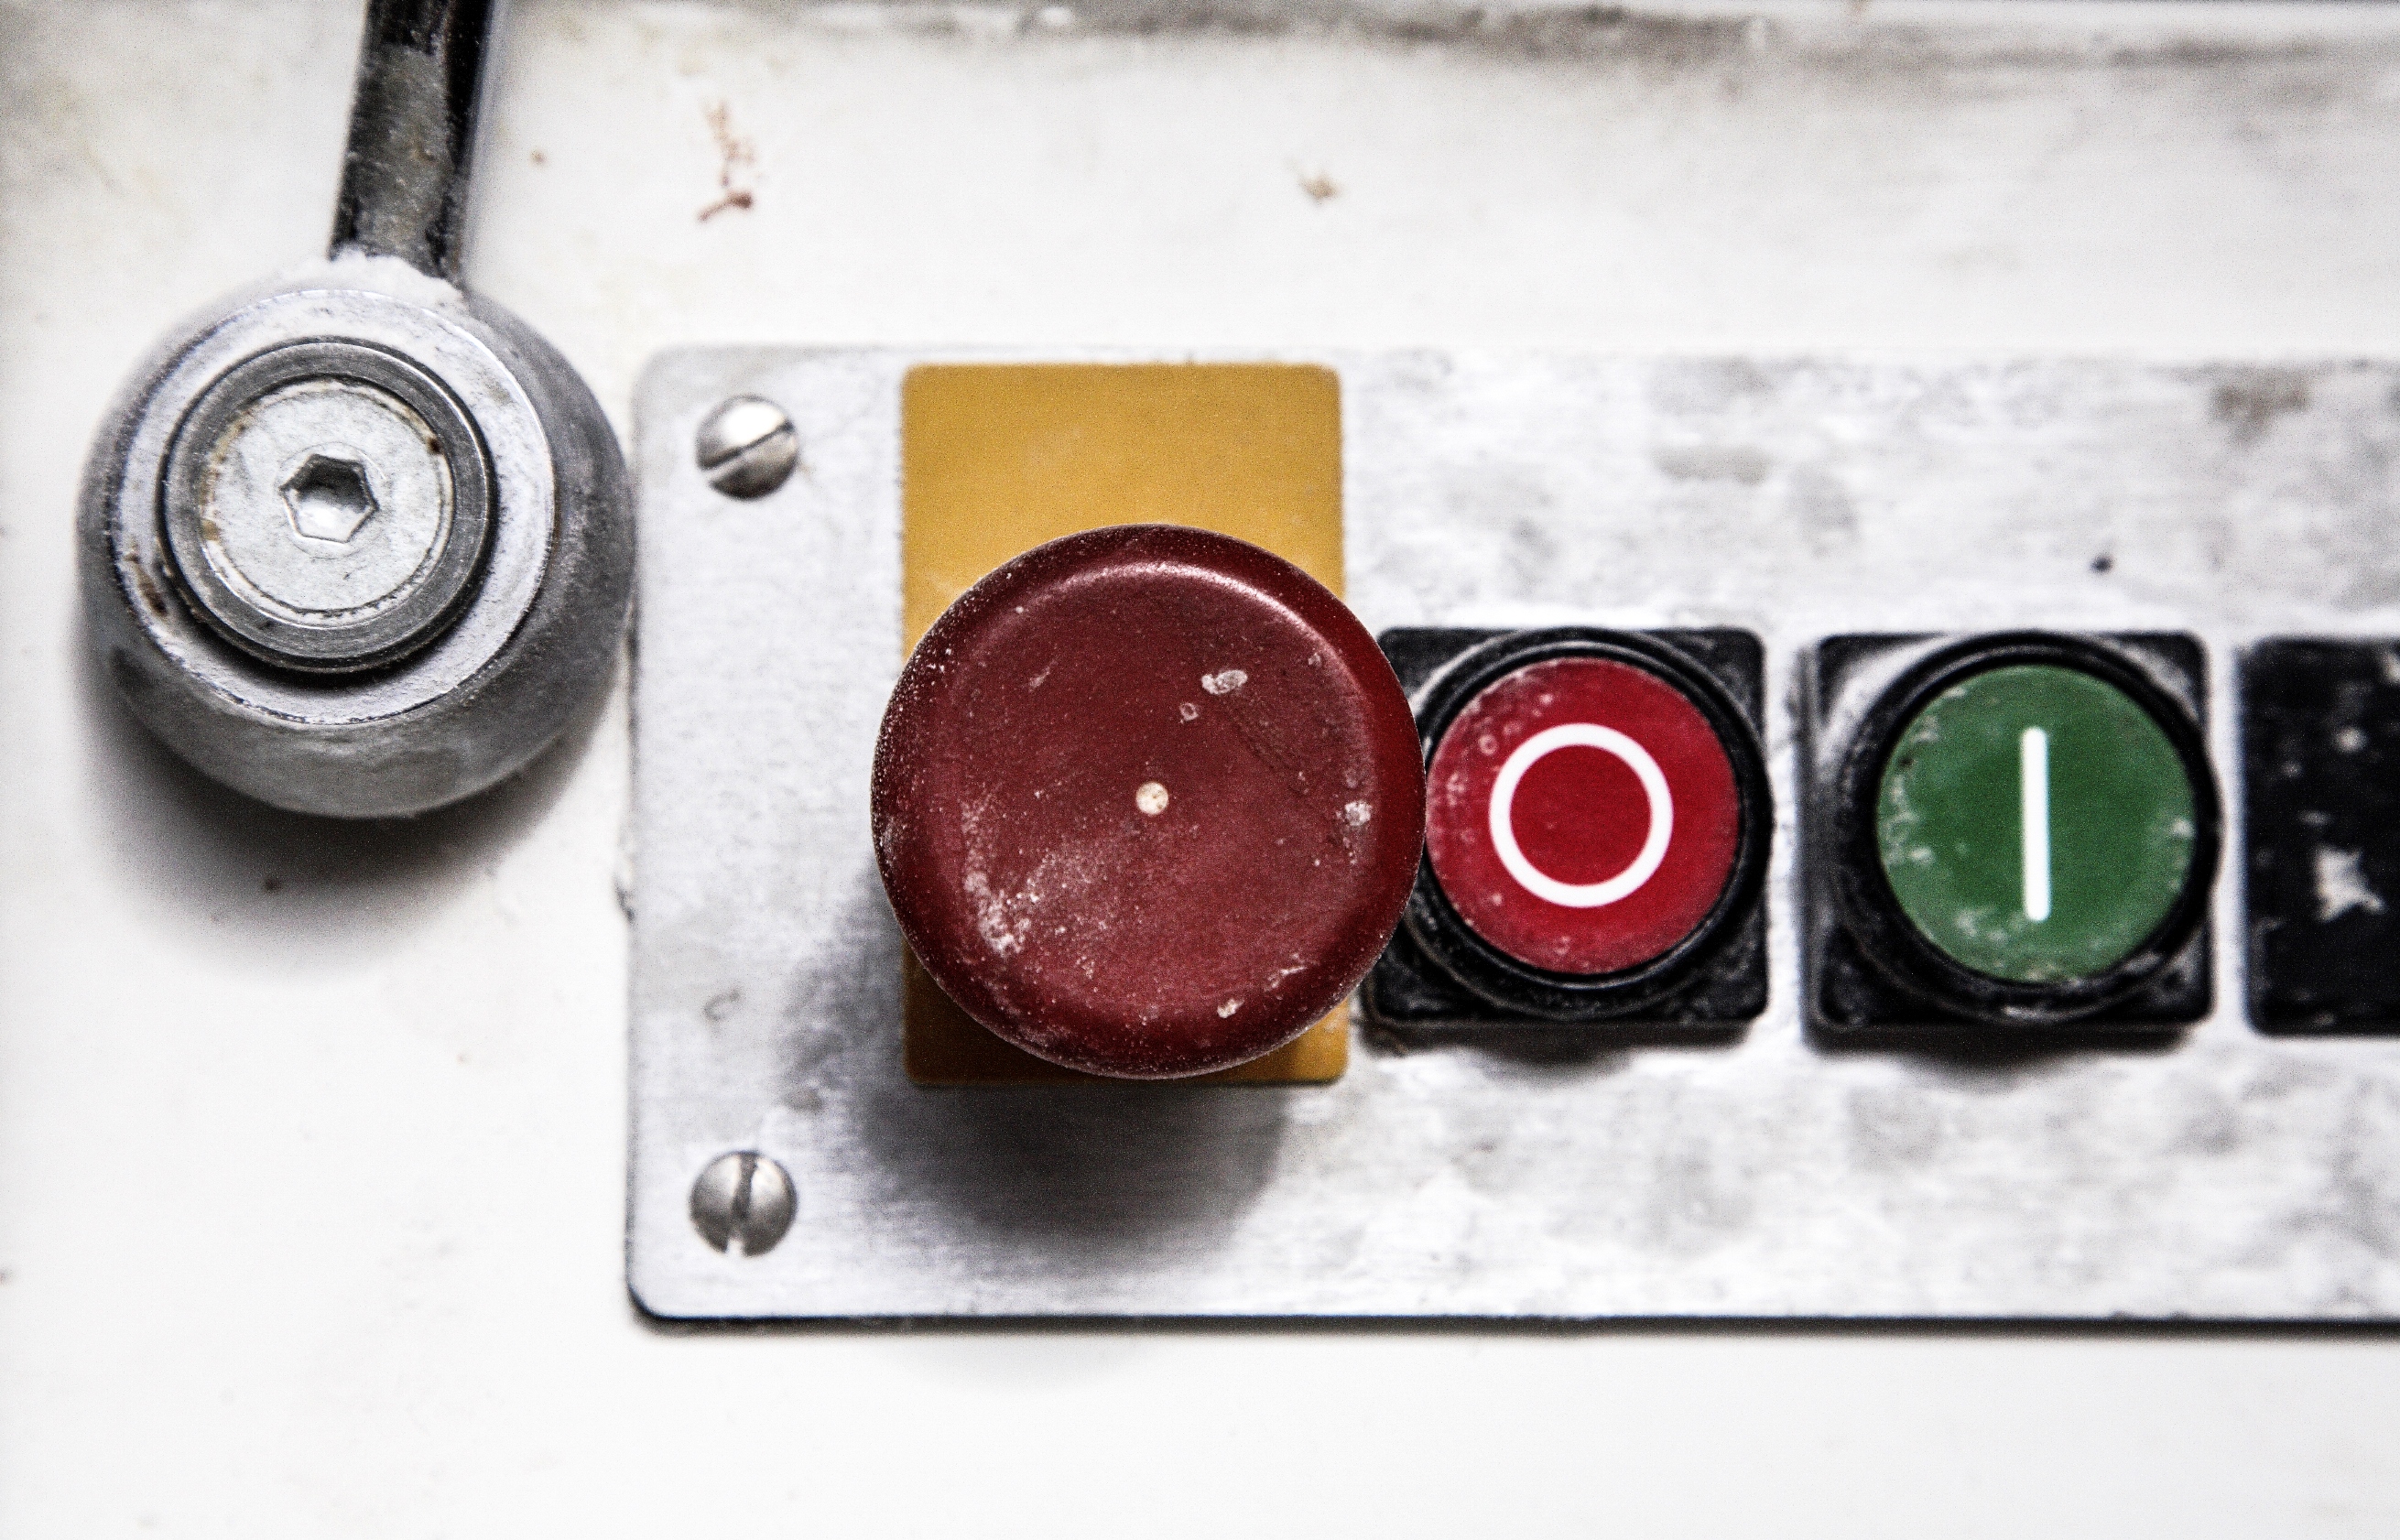
You can use any Arduino UNO original or compatible board
USB cable
Depending on your board, you'll need a microUSB cable or a miniUSB cable
Computer
You need a computer with Arduino IDE software. If you don't have it, follow this link with instructions to download and install it.
Button brick
A simple push button brick with SVG connections
LED brick
A monocolor LED brick with integrated resistors and SVG connections
Let's get started
Follow these instructions carefully. You can click on some of the images to zoom in.
Always connect the components BEFORE powering the UNO board or YOU MAY DAMAGE YOUR BOARD OR COMPONENTS.
Instructions
2. Open Arduino IDE
Once you've opened the editor, open the button example from File->Examples->Digital->Button
5. Upload to the board
Use the upload button to transfer the program to your board. Once done, you should read Upload completed. That means the transfer was succesful. If it's not succesful, try disconnecting your board and connecting it again and repeating the upload process.
6. Final result
It everything worked correctly, your LED should turn on or off depending on the button status (pressed or not).
You've done it! You're on the right path to be a maker! 🙂
Now, what else?
Now is your turn:
Questions:
- In step 4 of the instructions says you have to modify the code in order to make it work, what did you change?
- Use your favourite browser to search for the difference between an input and an output.
- Write some examples of inputs and outputs
Activities:
- Think about how would you modify the code so the button acts the other way around, with the LED on when not pressed and off when pressed.
- I challenge you to modify the code, so the push button acts like a switch, keeping its state until it is touched again.
Language scaffolding
Vocabulary
- brick: block of rectangular shape. (bloque, módulo)
- pressed: push, Example: He pressed against the table to get it to move. (presionar)
- challenge: dare to do a difficult task (retar, desafiar)
- the other way around: reversed (al contrario)
- switch: electricity: on-off control. Example: The light switch is on your right (interruptor)
- state: condition (estado)
Useful expressions
- They are similar because...
- They are different because...
- One of them ... while the other...
- One input example is...
- A good example of an ouptut is...
Still need help?
First raise your hand and then...
Asking for general help
- Excuse me, I need help.
- Please, could someone help me?
- I have problems with this activity.
- This part is keeping me from finishing the activity
- How do I do that?
Vocabulary problems
- What's the meaning of...?
- How do you say... in English?
- What does... mean?
- I don't understand this sentence/word/part...
Need more help? check these online dictionaries
Pingback: Buzzer! – makit
Pingback: PIR sensor – makit
Pingback: Encoder and servo – makit
Pingback: Seven segment display – makit